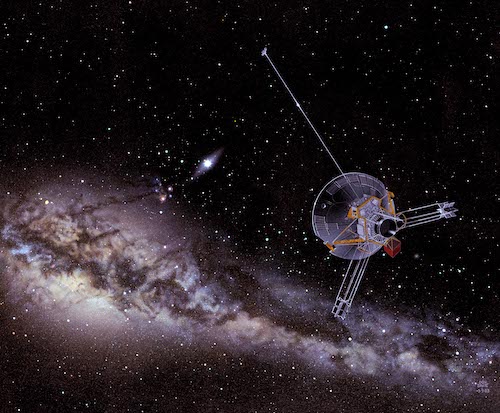
Image courtesy NASA
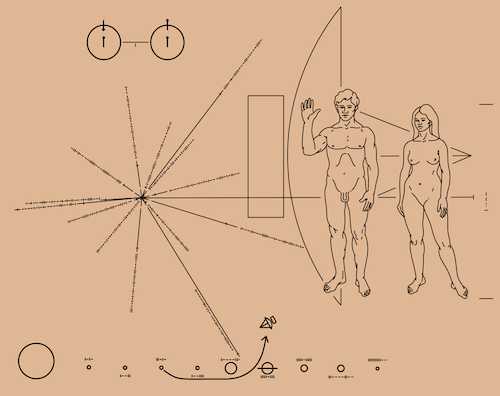
Image courtesy NASA - designed by Carl Sagan & Frank Drake; artwork by Linda Salzman Sagan
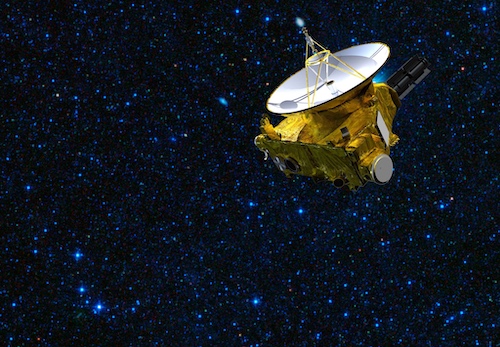
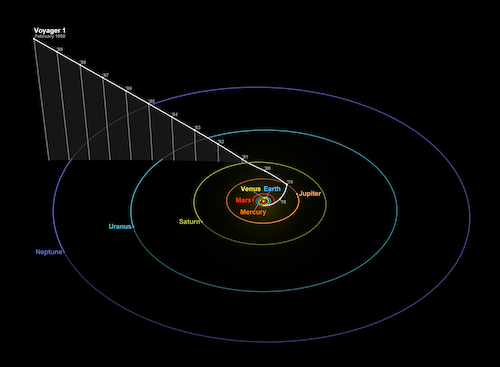
Image courtesy NASA - combines New Horizons image with star background from the Wide-field Infrared Survey Explorer
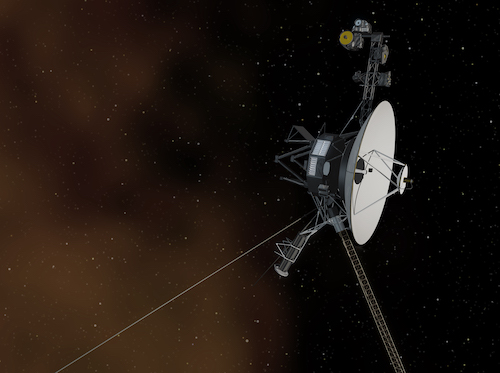
Image courtesy NASA/JPL-Caltech
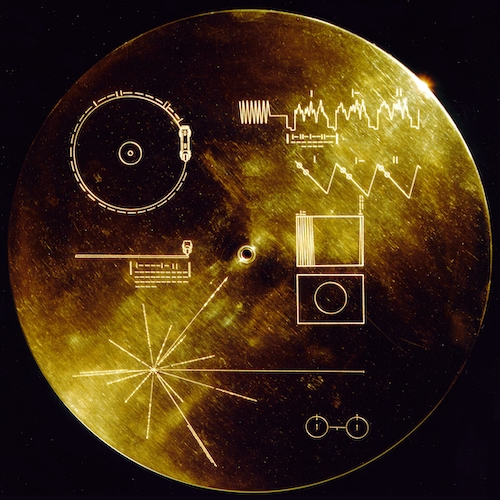
Image courtesy NASA
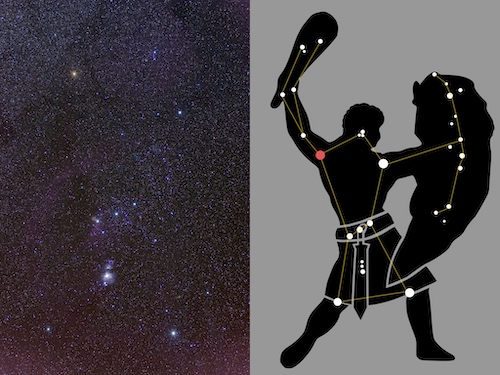
Images by Mouser and Sanu N, reproduced under GNU version 1.2 and CC BY-SA 4.0
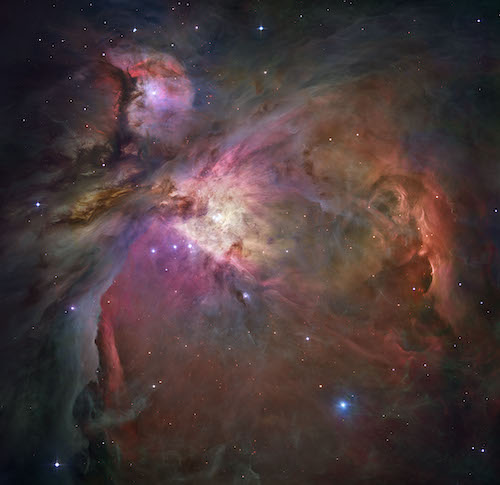
Image courtesy NASA,ESA, M. Robberto (Space Telescope Science Institute/ESA) and the Hubble Space Telescope Orion Treasury Project Team
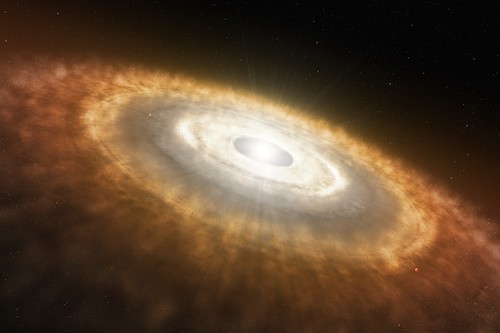
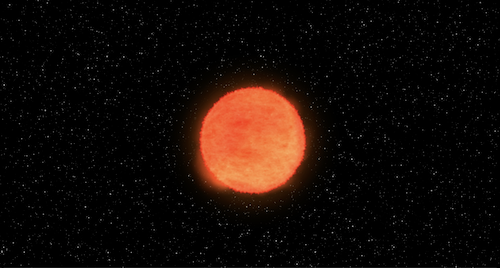
Image courtesy ESO
Image courtesy NASA
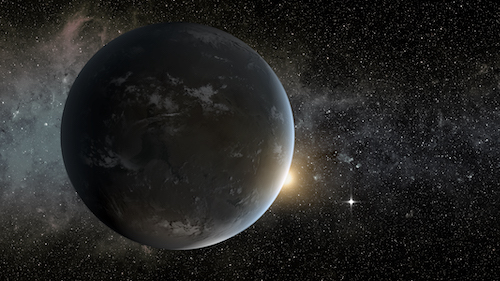
Image courtesy NASA Ames/JPL-Caltech
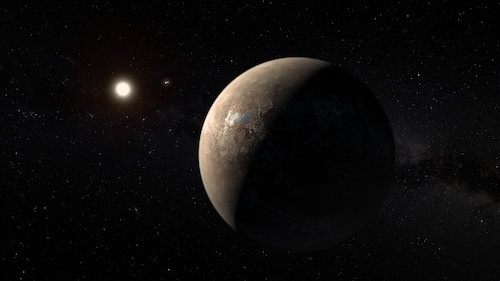
Image courtesy ESO/M. Kornmesser

Image courtesy NASA/JPL-Caltech
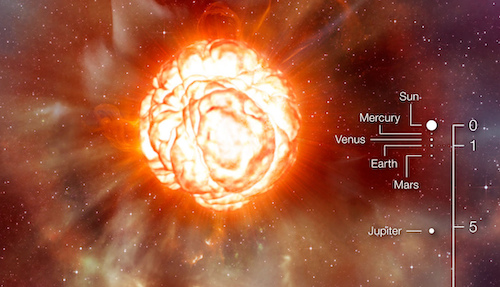
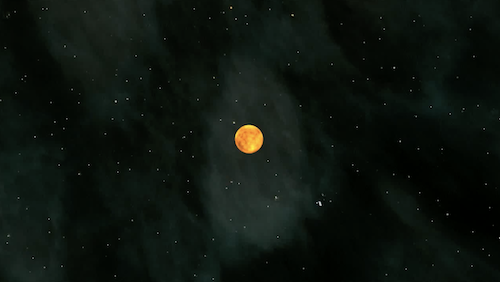
Image courtesy ESO, cropped
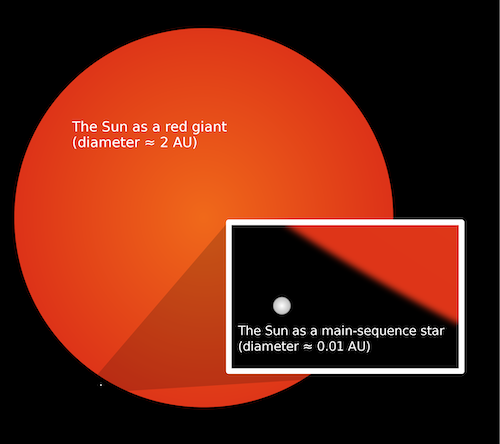
Image by Oona Räisänen reproduced under CC A-SA 3.0
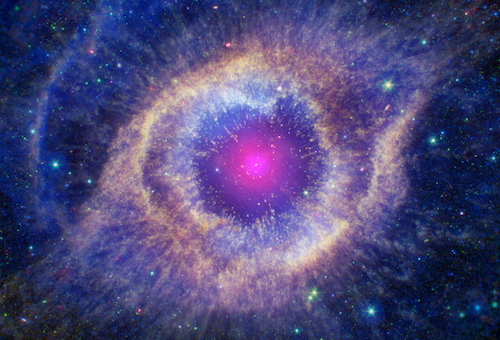
Image courtesy X-ray: NASA/CXC; Ultraviolet: NASA/JPL-Caltech/SSC; Optical: NASA/STScI(M. Meixner)/ESA/NRAO(T.A. Rector); Infrared: NASA/JPL-Caltech/K. Su
Video courtesy NASA/JPL-Caltech
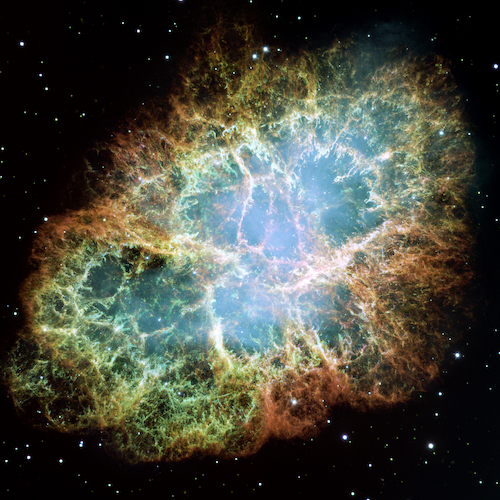
Image courtesy NASA, ESA, J. Hester and A. Loll (Arizona State University)
Video courtesy NASA
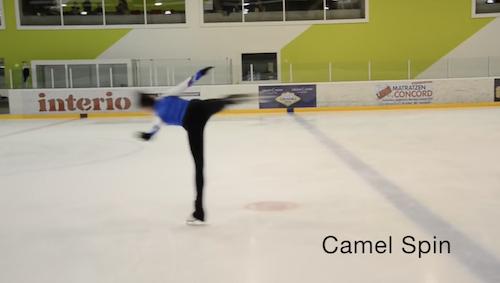
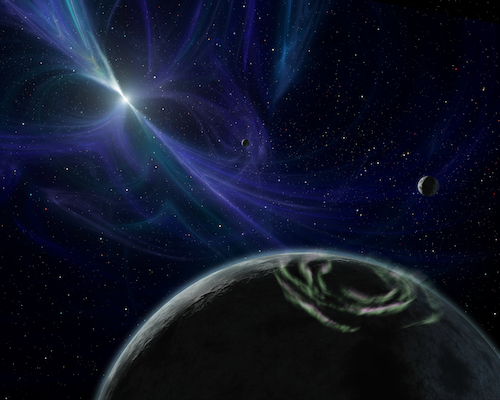
Image courtesy NASA/JPL-Caltech/R. Hurt (SSC)
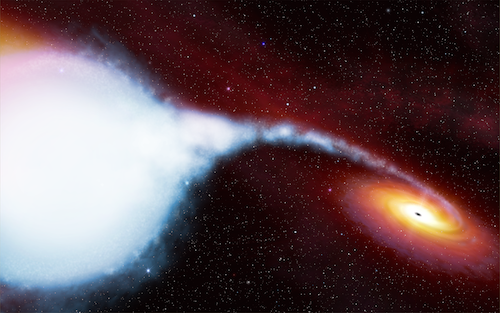
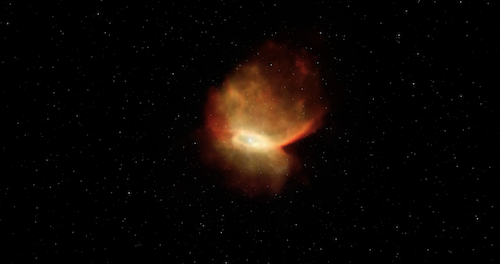
Image courtesy ESA, Hubble
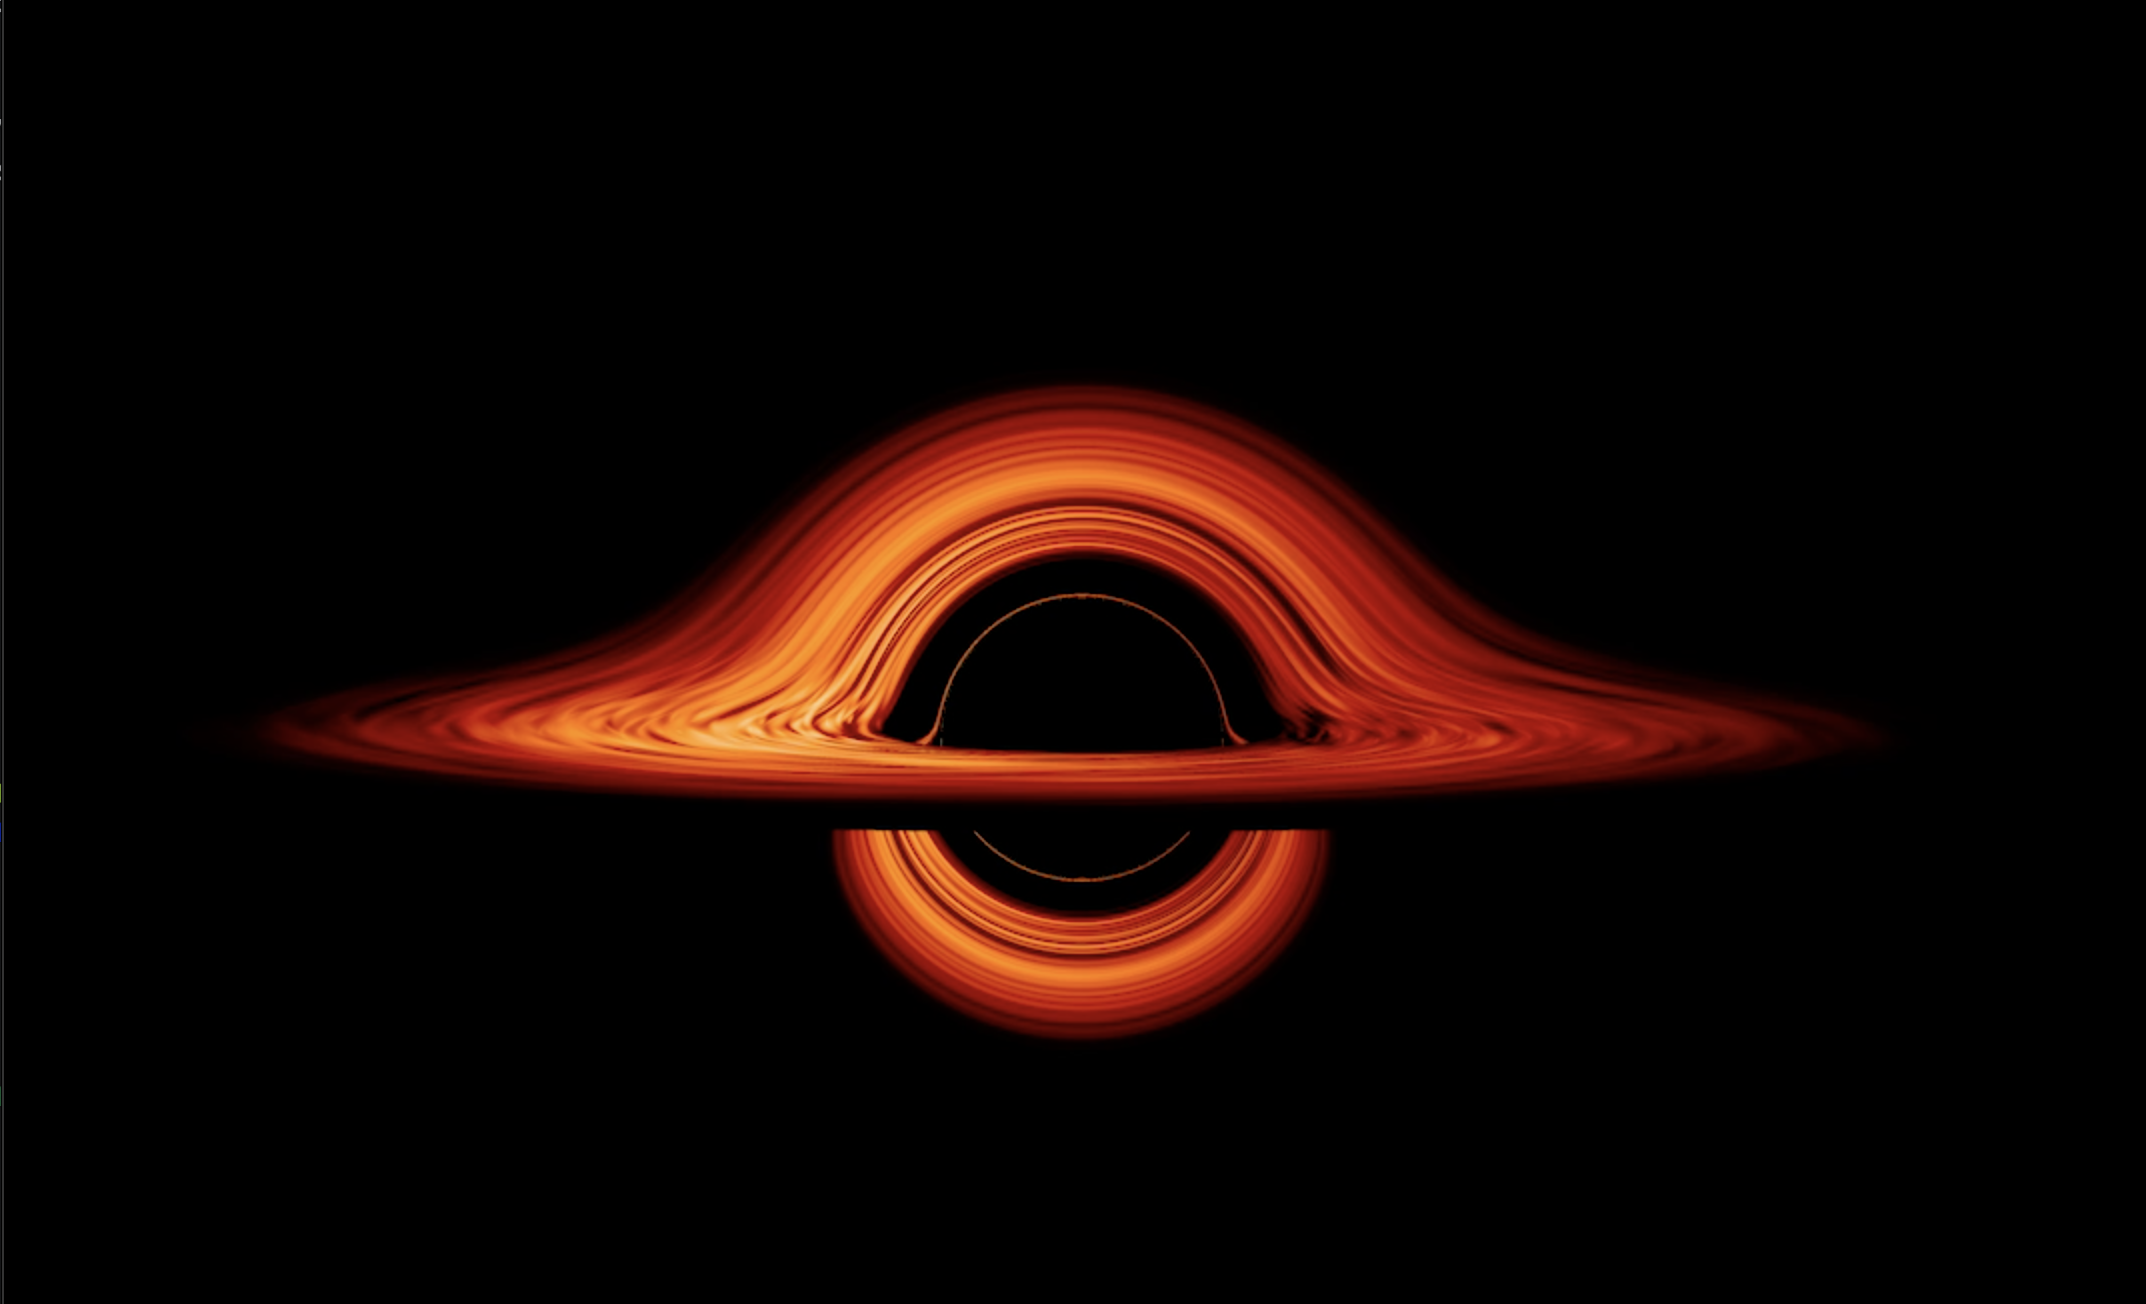
Video courtesy NASA’s Goddard Space Flight Center/Jeremy Schnittman
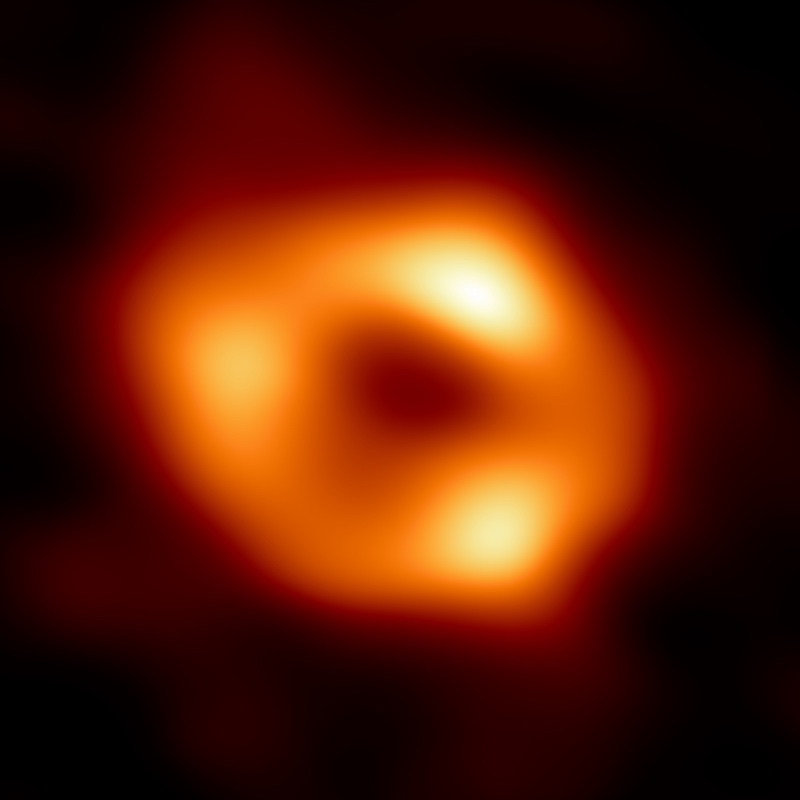
Image courtesy EHT Collaboration
Image courtesy ESO/MPE
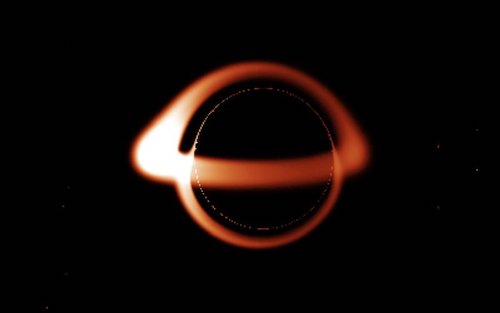
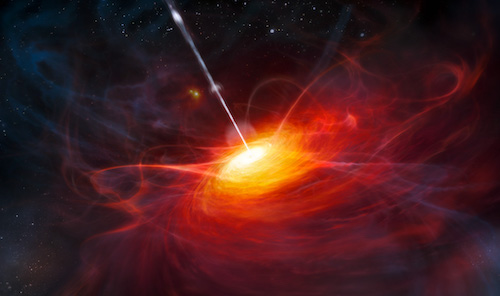
Image courtesy ESO/M. Kornmesser
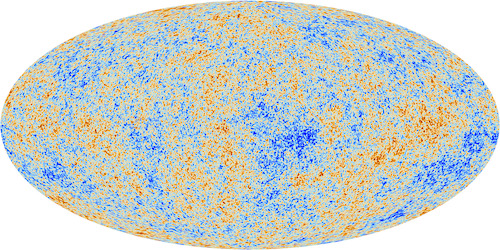
Image courtesy ESA and the Planck Collaboration
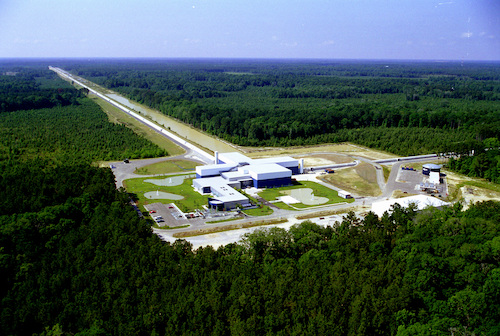
Image courtesy Caltech/MIT/LIGO Lab
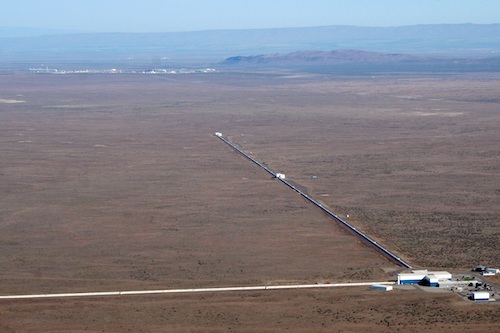
Image courtesy Caltech/MIT/LIGO Lab
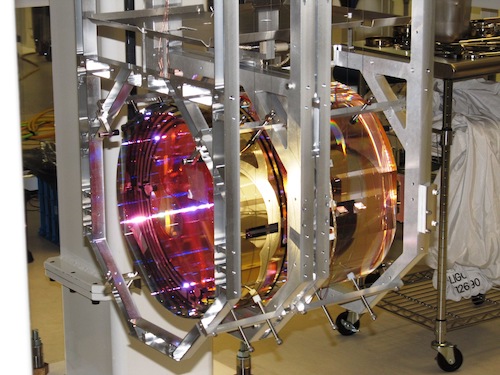
Image courtesy Caltech/MIT/LIGO Lab
Video courtesy Caltech/MIT/LIGO Lab
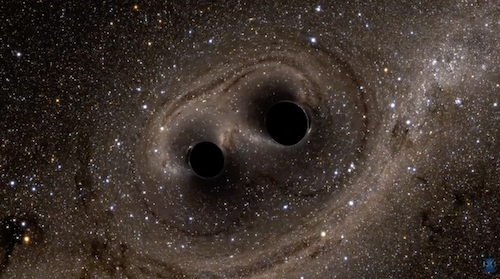
Video courtesy NASA
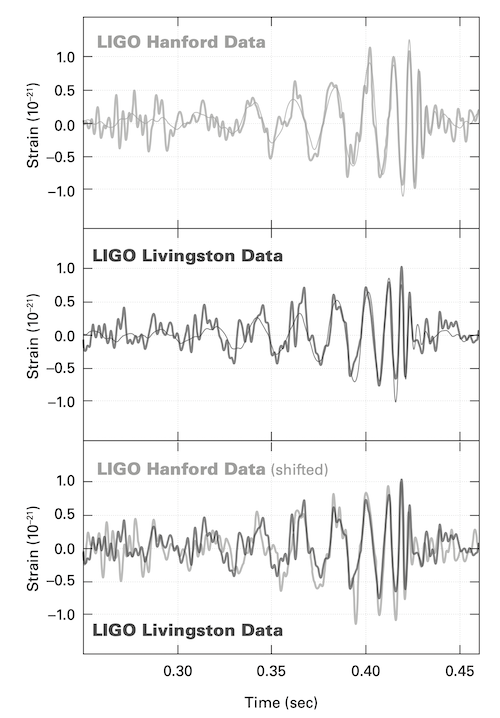
Image from Caltech/MIT/LIGO Lab data
Image courtesy Nick Risinger
Image courtesy Nick Risinger adapted
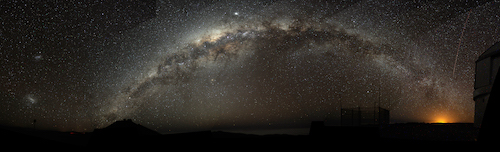
Image courtesy Bruno Gilli/ESO
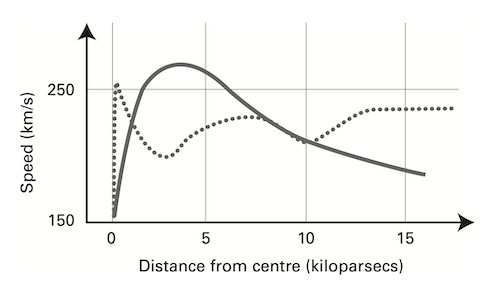
Velocity of stars: dark line is predicted, dotted line is actual
Image adapted from Creative Commons image CC BY-SA 3.0
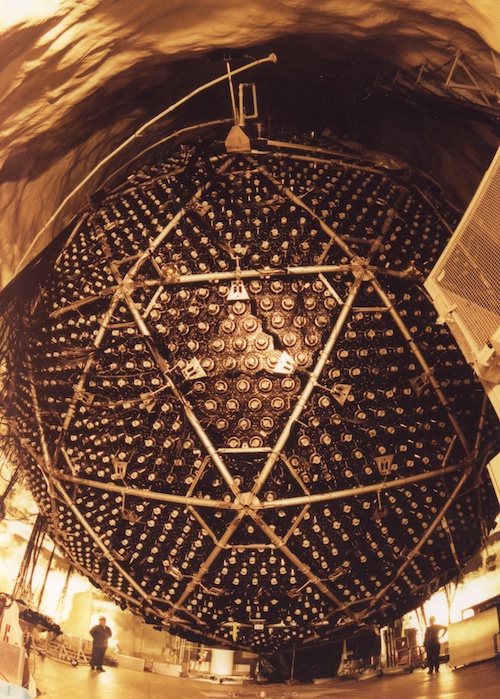
Image courtesy of SNO under CC A-SA 4.0
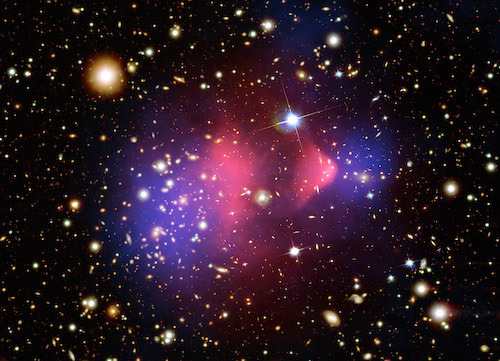
Image courtesy of X-ray: NASA/CXC/CfA/M.Markevitch, Optical and lensing map: NASA/STScI, Magellan/U.Arizona/D.Clowe, Lensing map: ESO WFI
Image courtesy of Milarix under CC A-SA 3.0
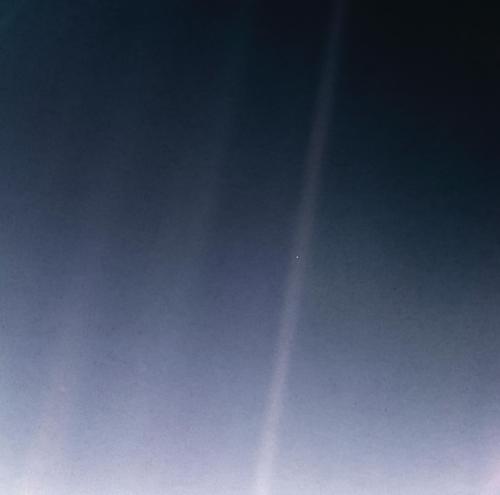
Image courtesy of NASA/JPL-Caltech
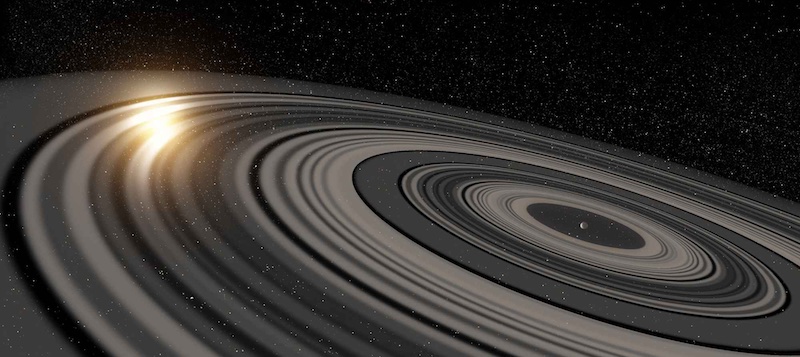
Image courtesy of NASA (Ron Miller)
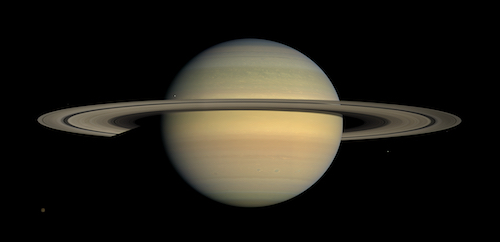
Image courtesy of NASA / JPL / Space Science Institute
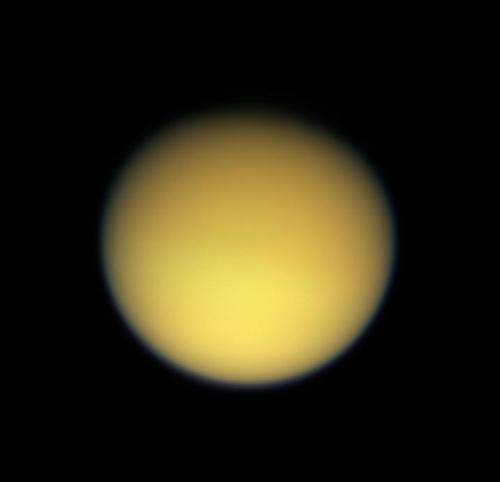
Image courtesy of NASA / JPL / Space Science Institute
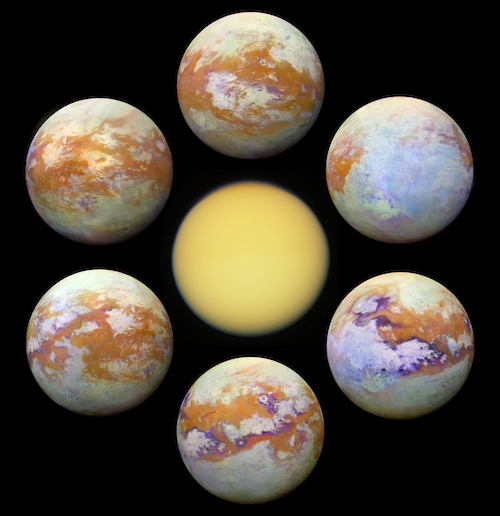
Image courtesy of NASA/JPL-Caltech/University of Nantes/University of Arizona
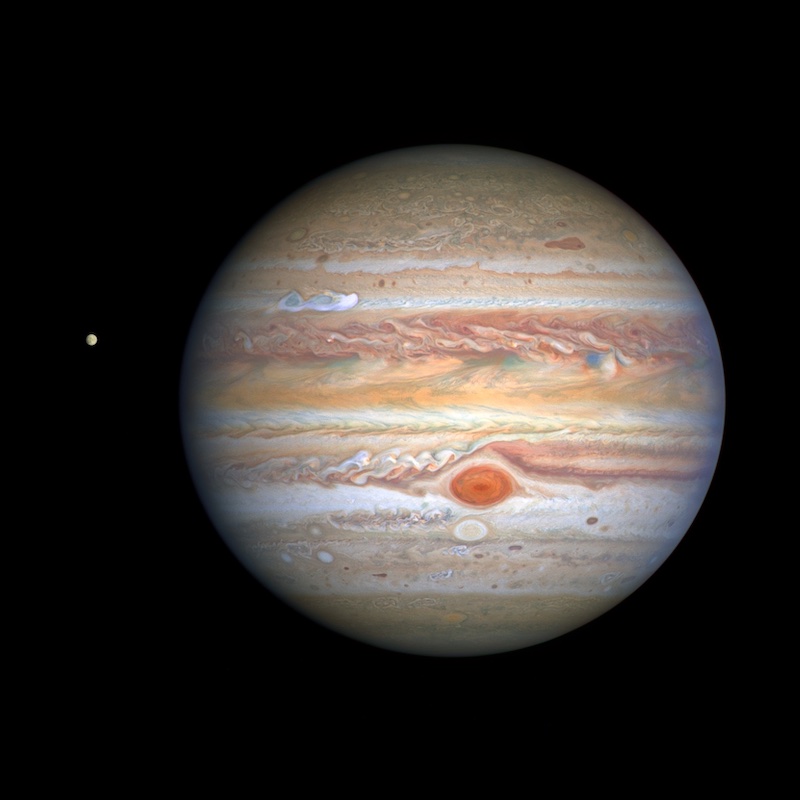
Image courtesy of NASA, ESA, STScI, A. Simon (Goddard Space Flight Center), and M.H. Wong (University of California, Berkeley) and the OPAL team
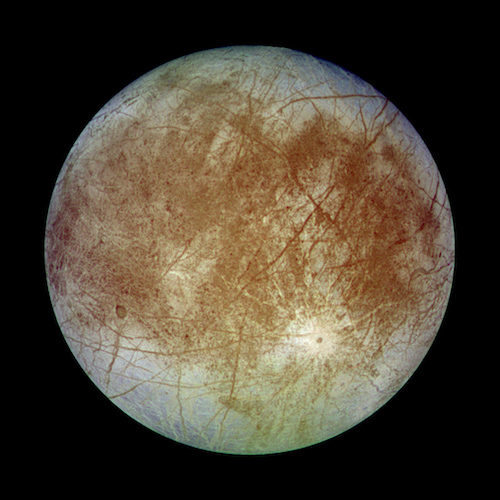
Image courtesy of NASA/JPL/DLR
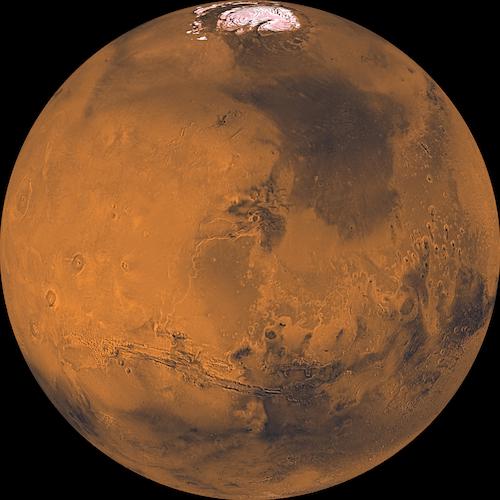
Image courtesy of NASA/JPL/USGS
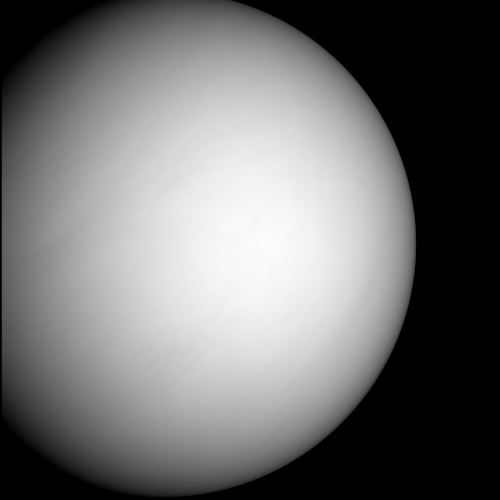
Image courtesy of NASA/Johns Hopkins University Applied Physics Laboratory/Carnegie Institution of Washington
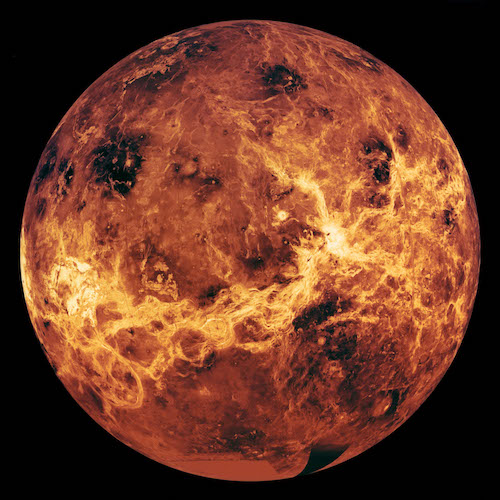
Image courtesy of NASA/JPL-Caltech
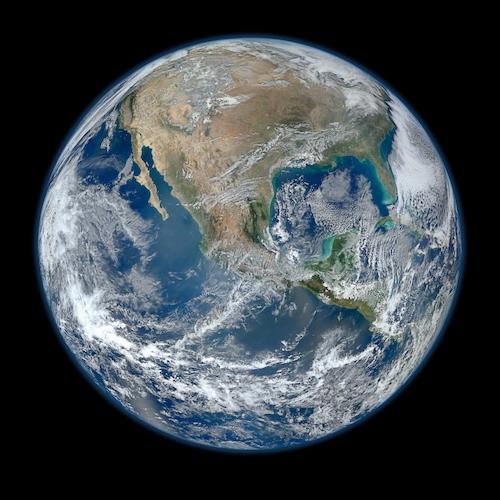
Image courtesy of NASA/JPL-Caltech